Phothoshop, Photography Aaron Anderson 5/18/15 Phothoshop, Photography Aaron Anderson 5/18/15 Why Landscapes are important. Read More Photography Aaron Anderson 5/6/15 Photography Aaron Anderson 5/6/15 BTS Video Read More Aaron Anderson 4/23/15 Aaron Anderson 4/23/15 Inked Read More Aaron Anderson 4/22/15 Aaron Anderson 4/22/15 Quick Tip: Goldie Locks for your clone stamp Read More Photography, Tutorial, Phothoshop Aaron Anderson 4/16/15 Photography, Tutorial, Phothoshop Aaron Anderson 4/16/15 Pathing and Quick Select Part 2 - Edges Read More Aaron Anderson 3/17/15 Aaron Anderson 3/17/15 Quick Tip: Loosen up! Read More Aaron Anderson 3/10/15 Aaron Anderson 3/10/15 Pathing and Quick Select - Part 1 Read More Aaron Anderson 1/13/15 Aaron Anderson 1/13/15 New Year, New Everything Read More Newer Posts Older Posts INSTAGRAM INSTAGRAM INSTAGRAM
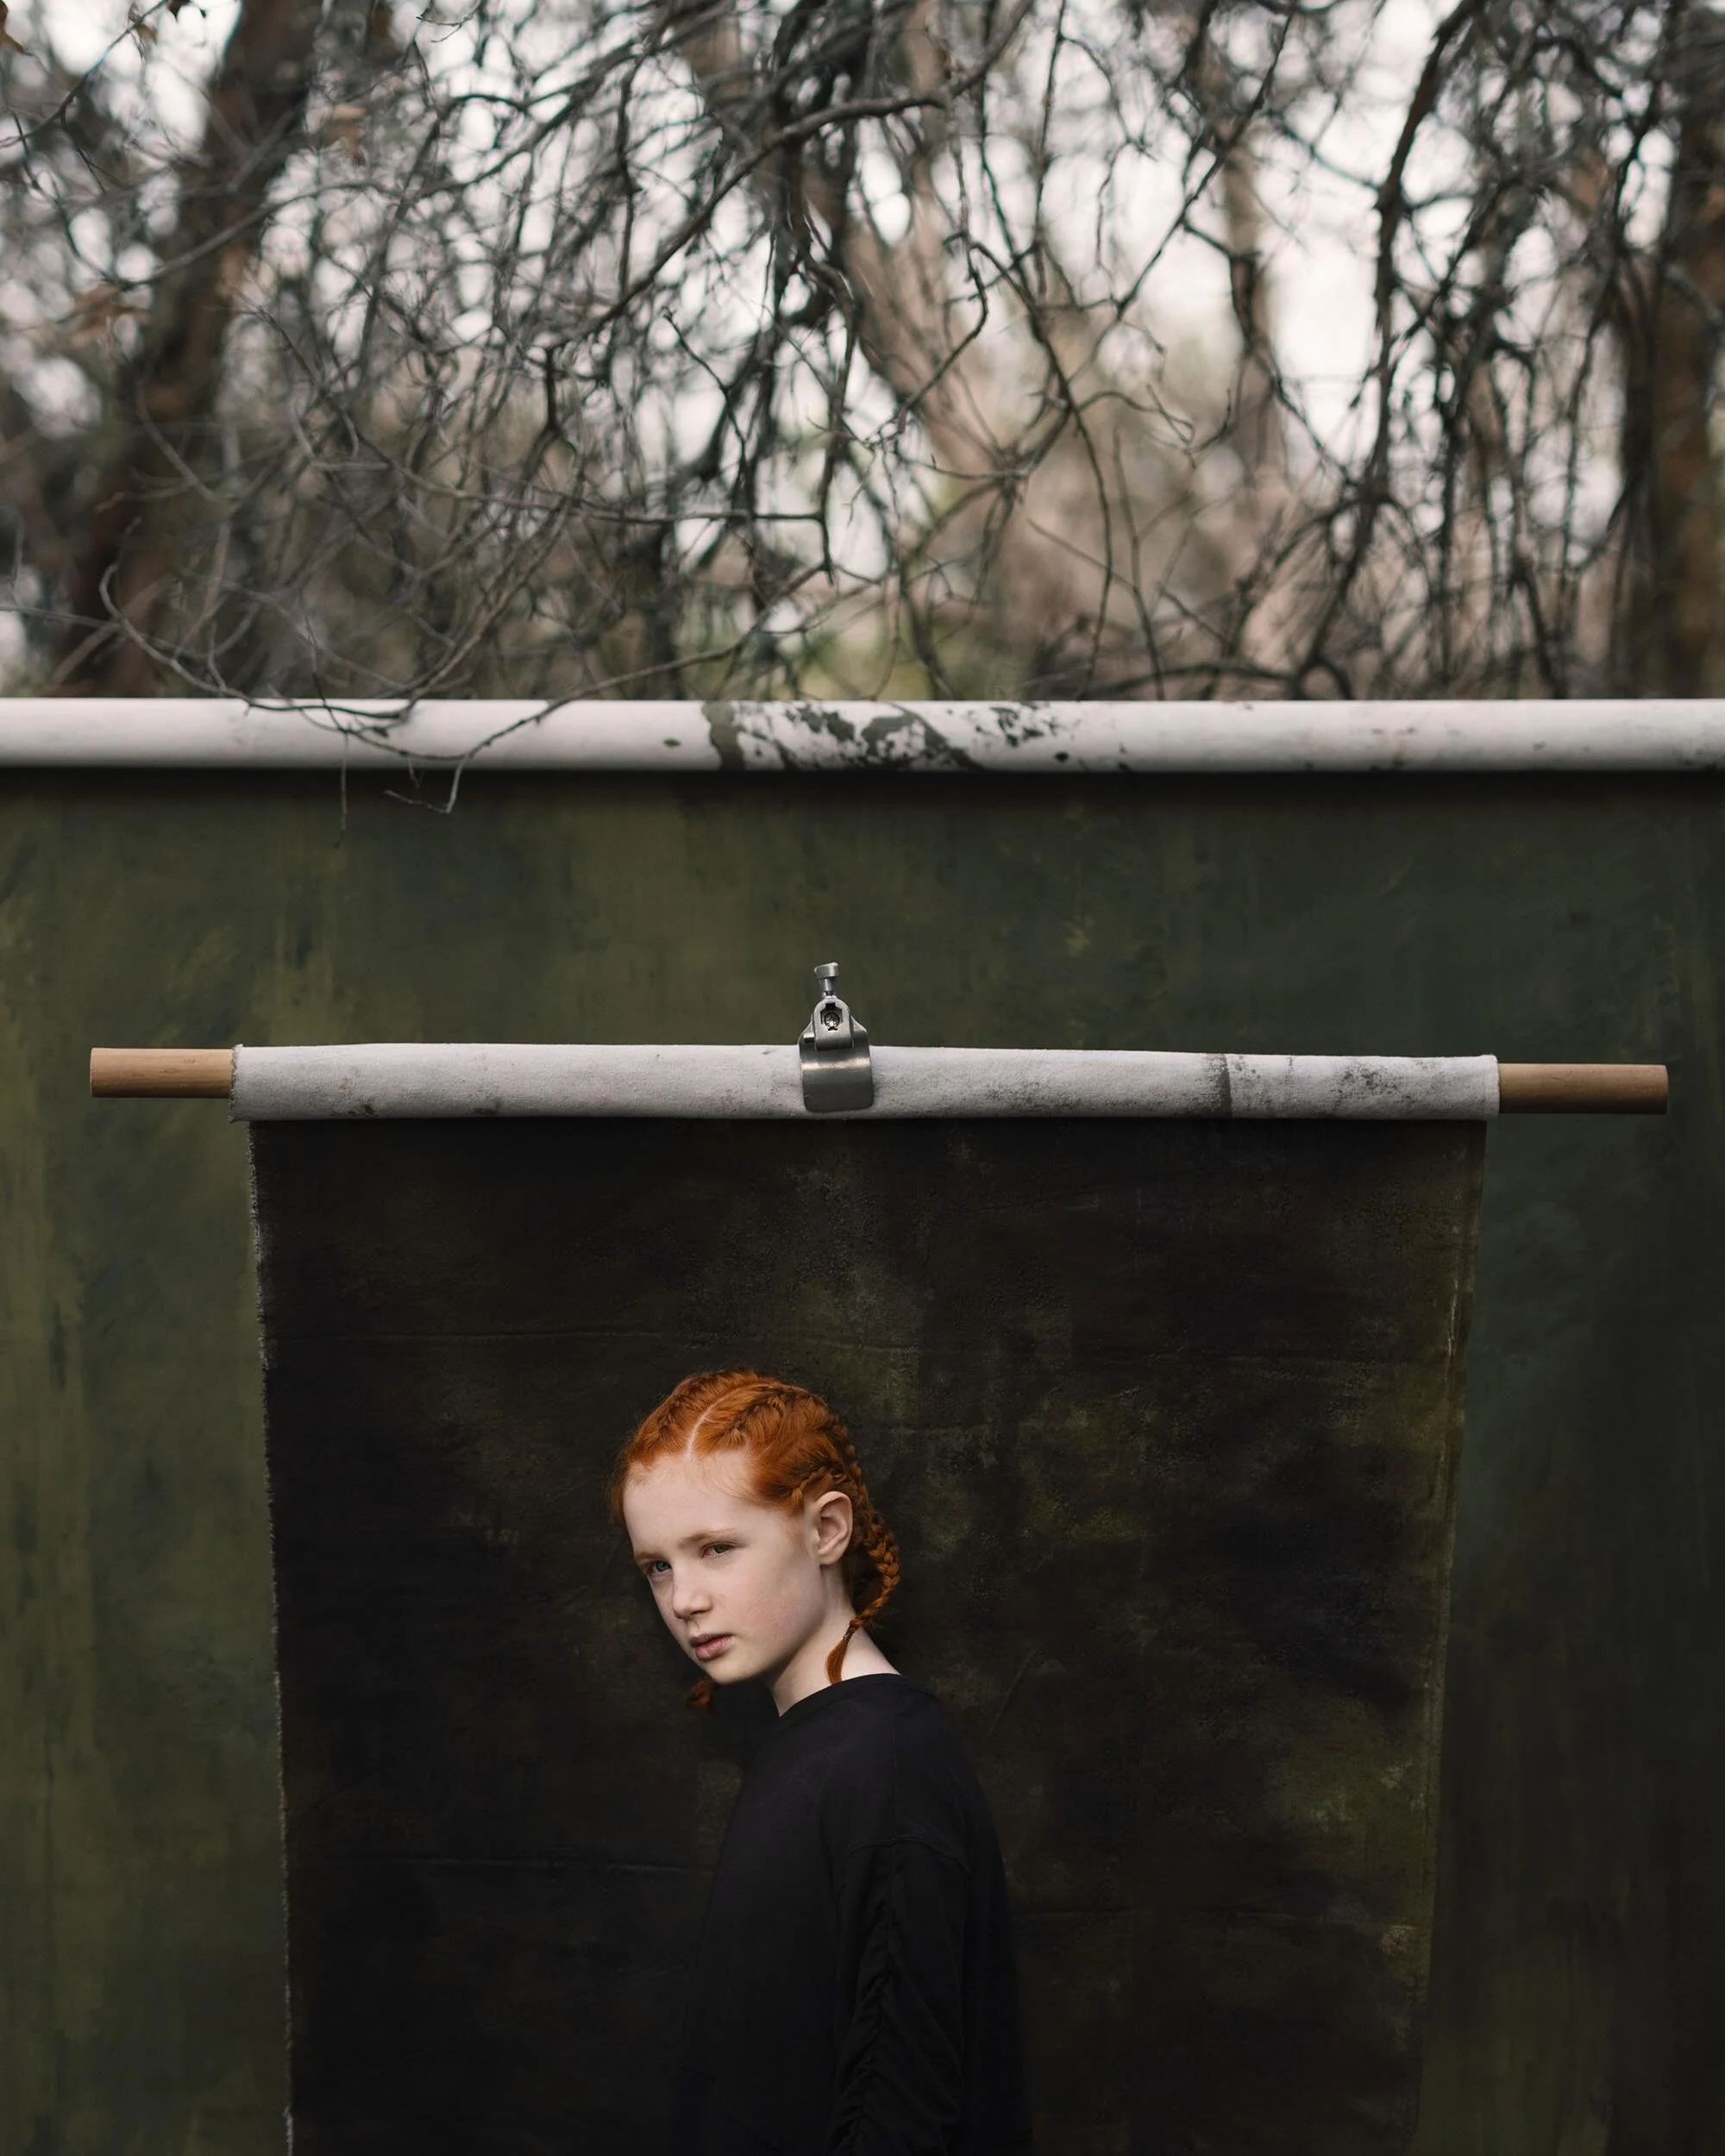
Phothoshop, Photography Aaron Anderson 5/18/15 Phothoshop, Photography Aaron Anderson 5/18/15 Why Landscapes are important. Read More
Photography, Tutorial, Phothoshop Aaron Anderson 4/16/15 Photography, Tutorial, Phothoshop Aaron Anderson 4/16/15 Pathing and Quick Select Part 2 - Edges Read More