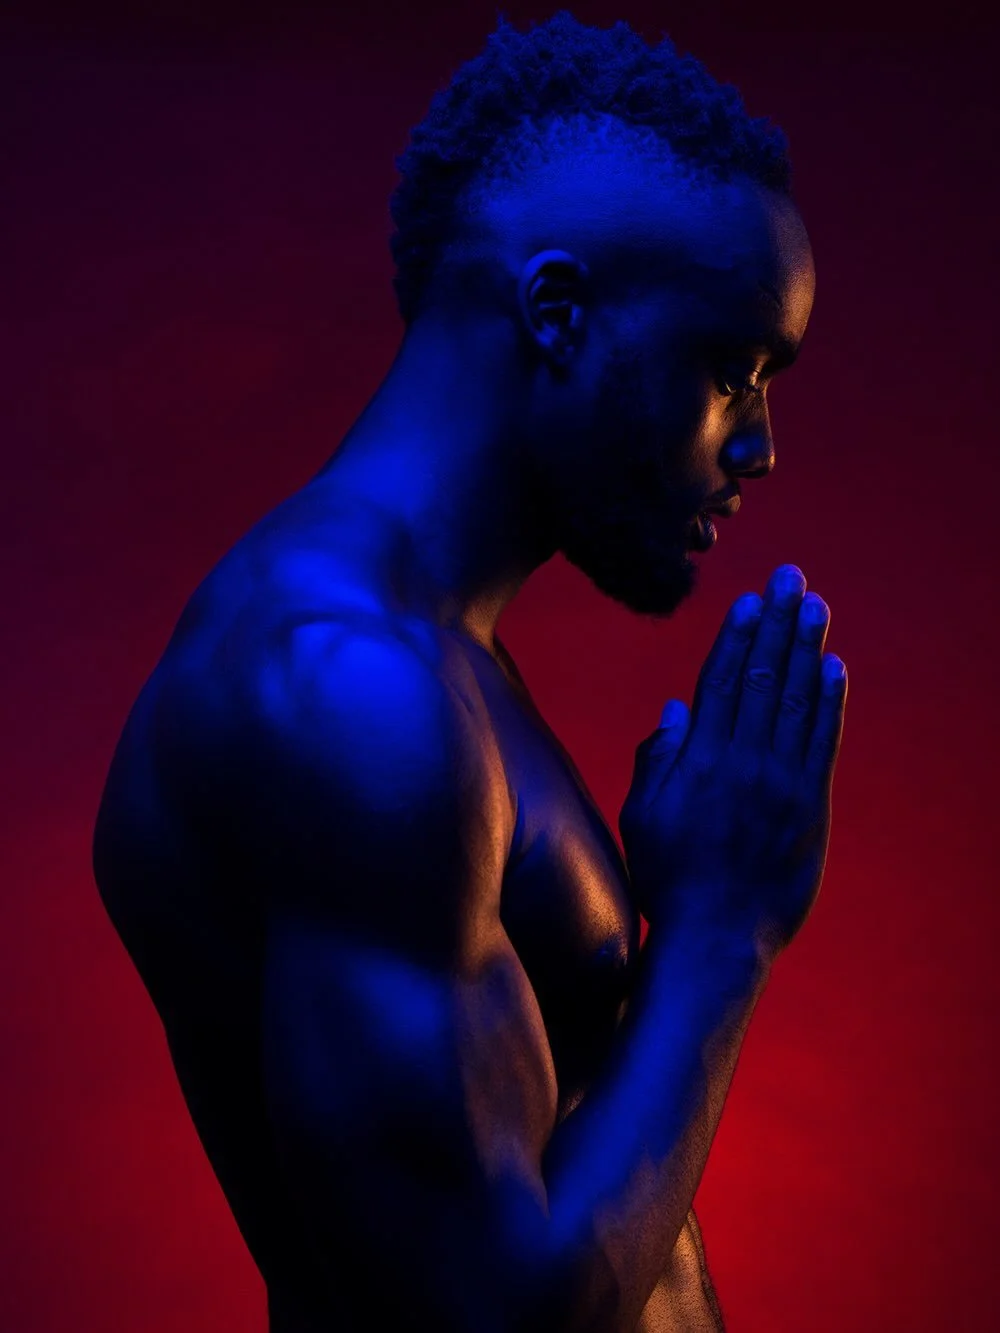
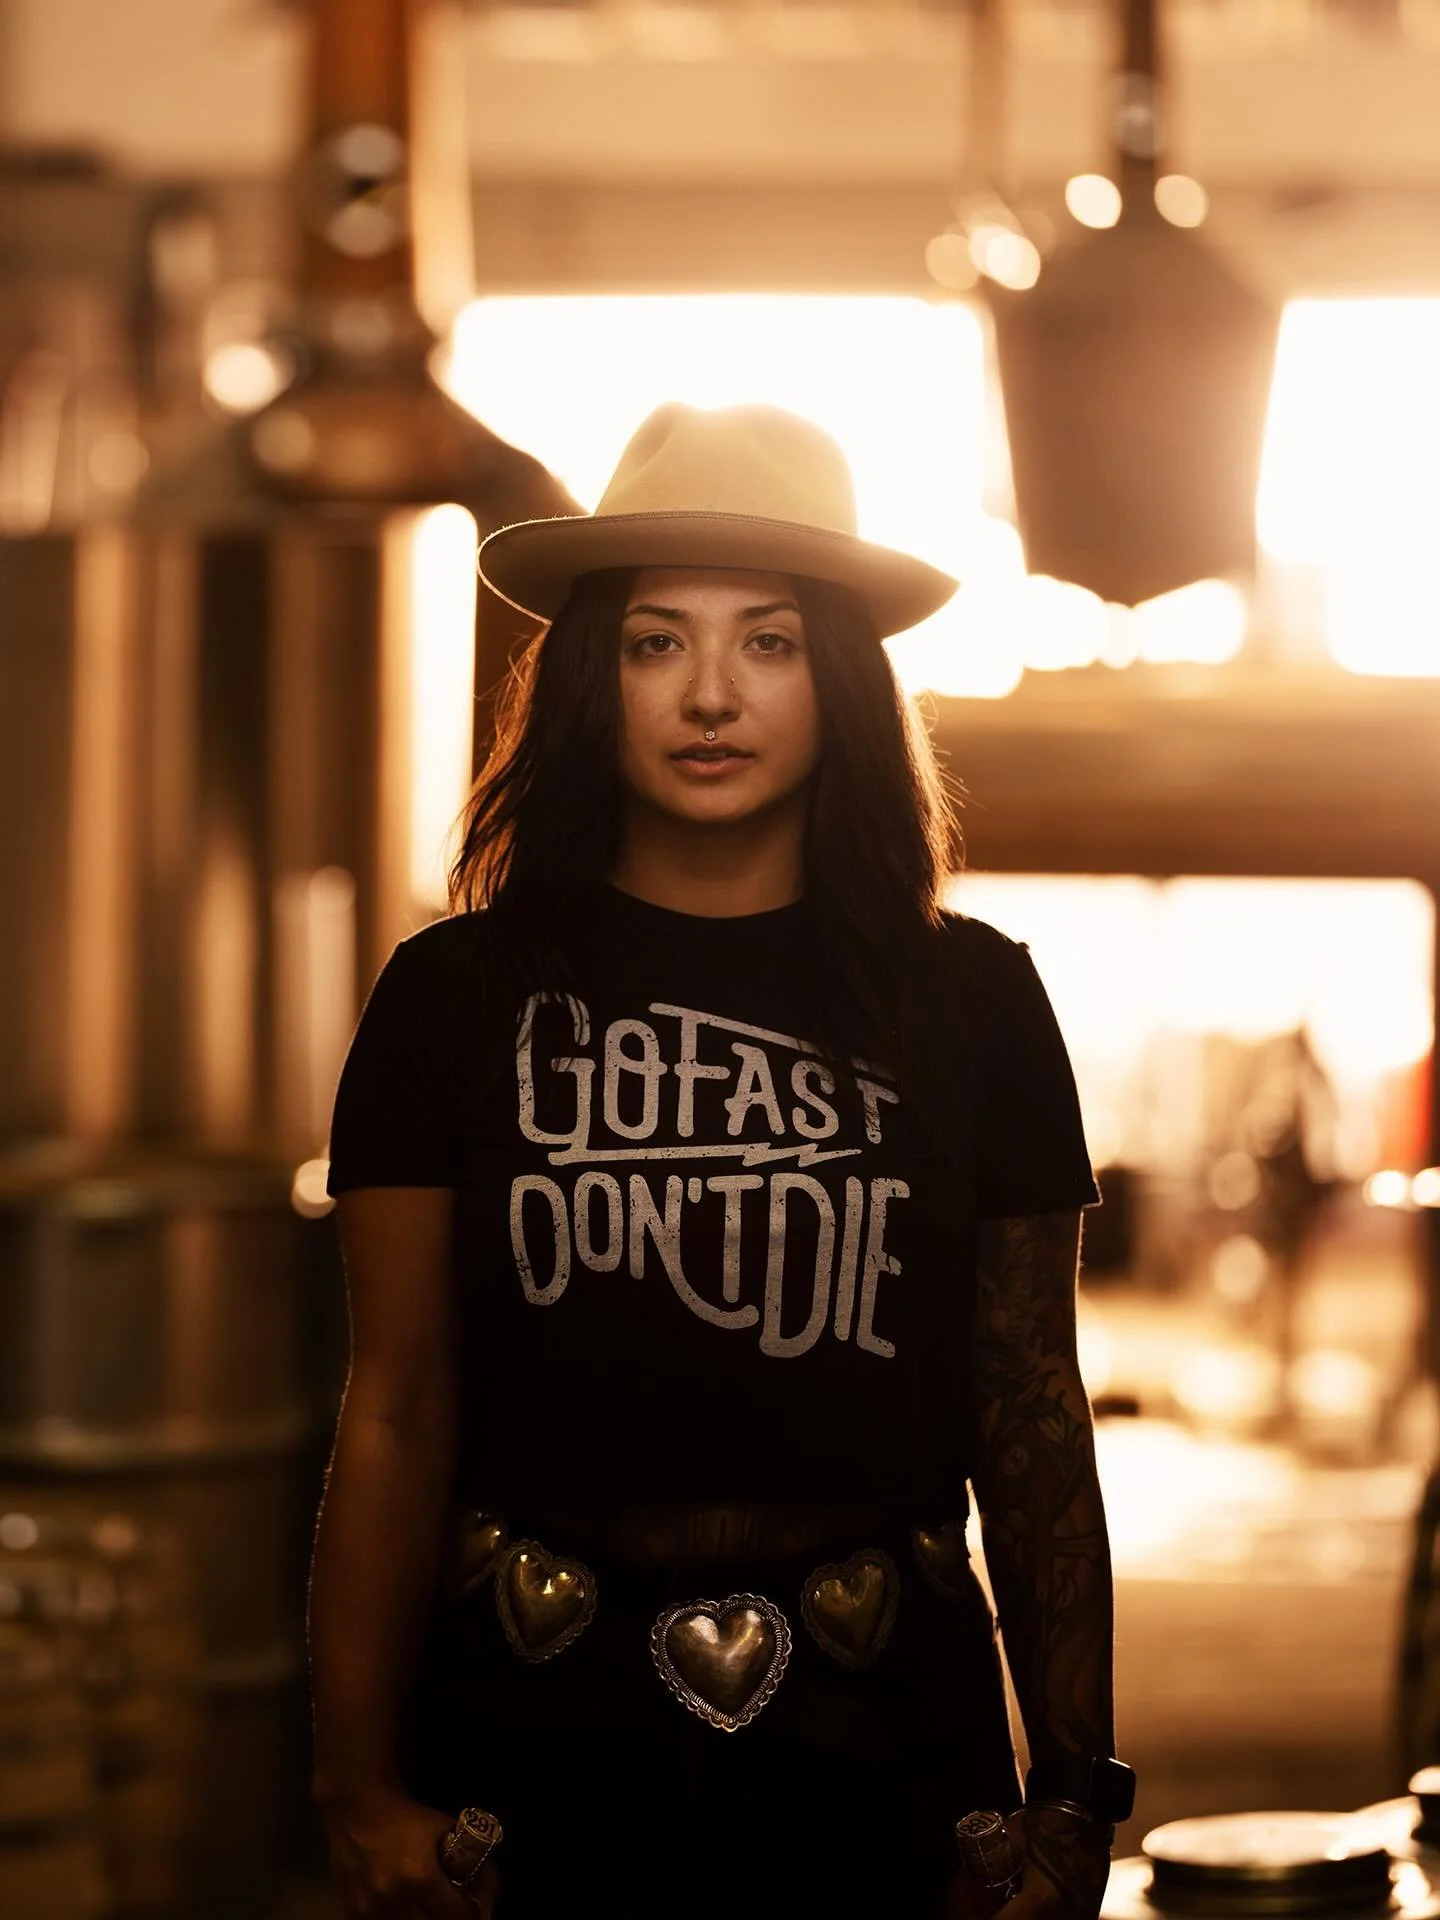
Commercial Photography,
Parenting,
Photography,
Social Media,
Phothoshop,
Inspiration
Aaron Anderson
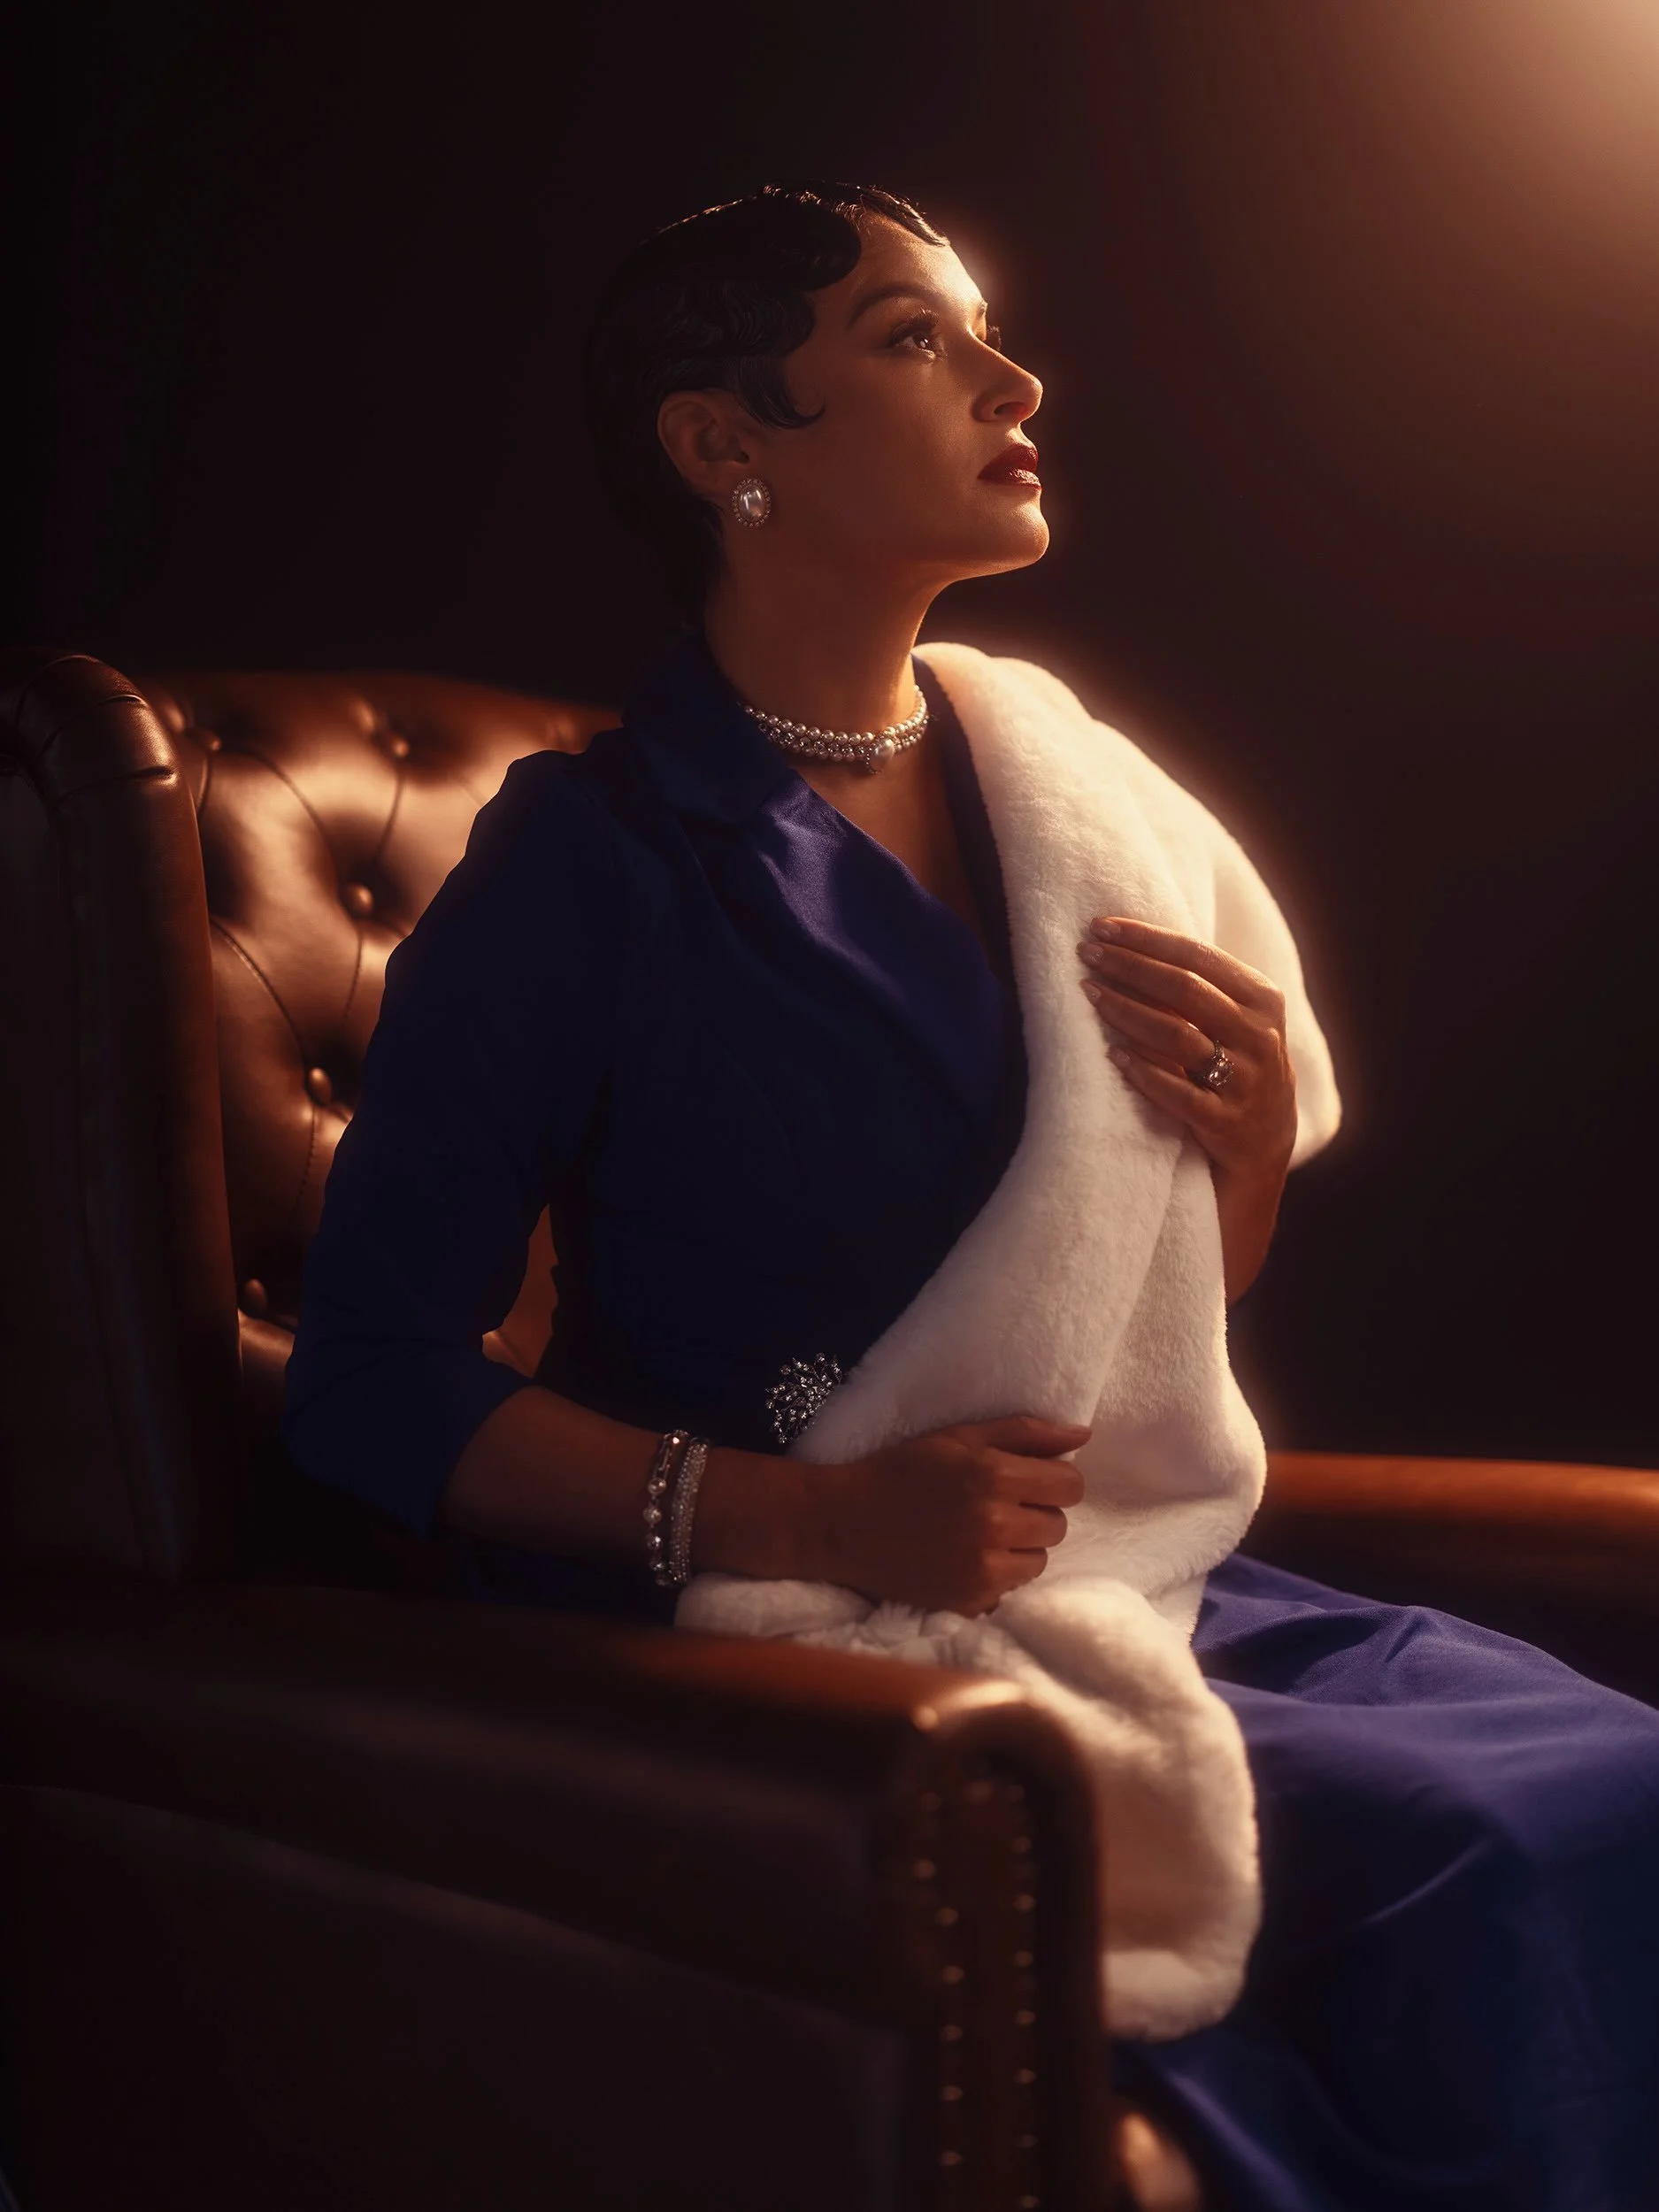
Commercial Photography,
Parenting,
Photography,
Social Media,
Phothoshop,
Inspiration
Aaron Anderson
Read More
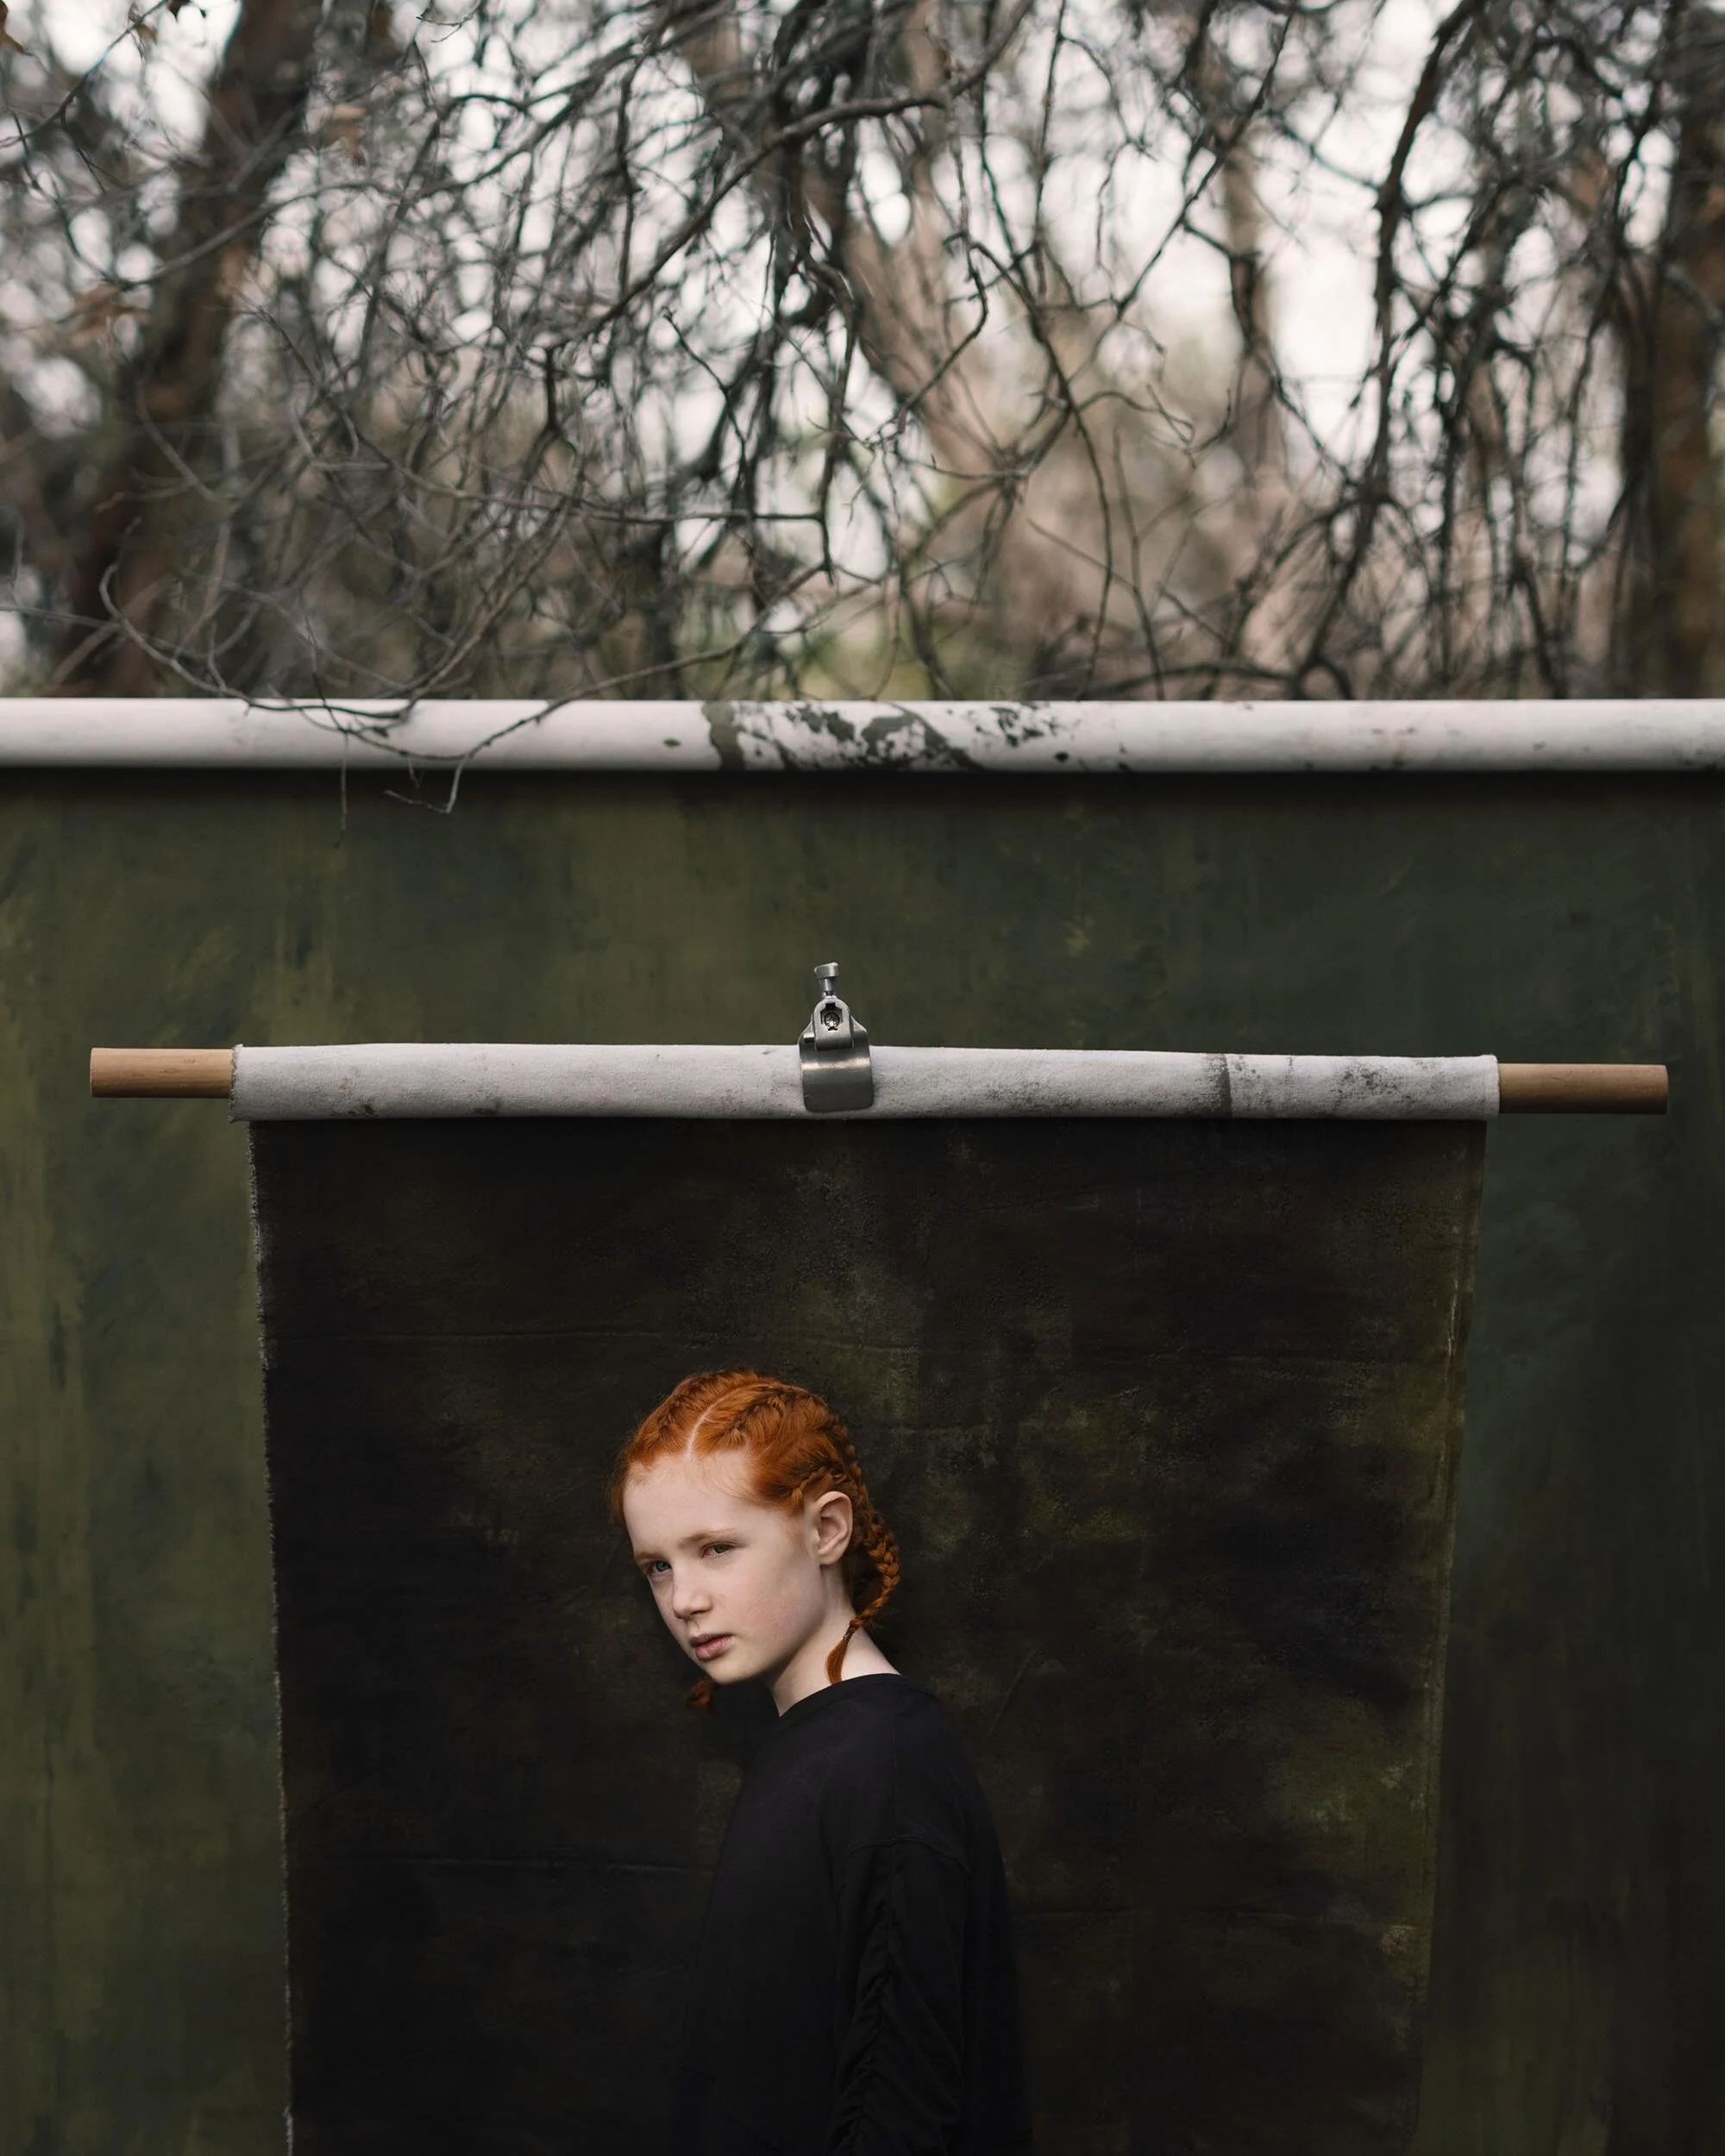
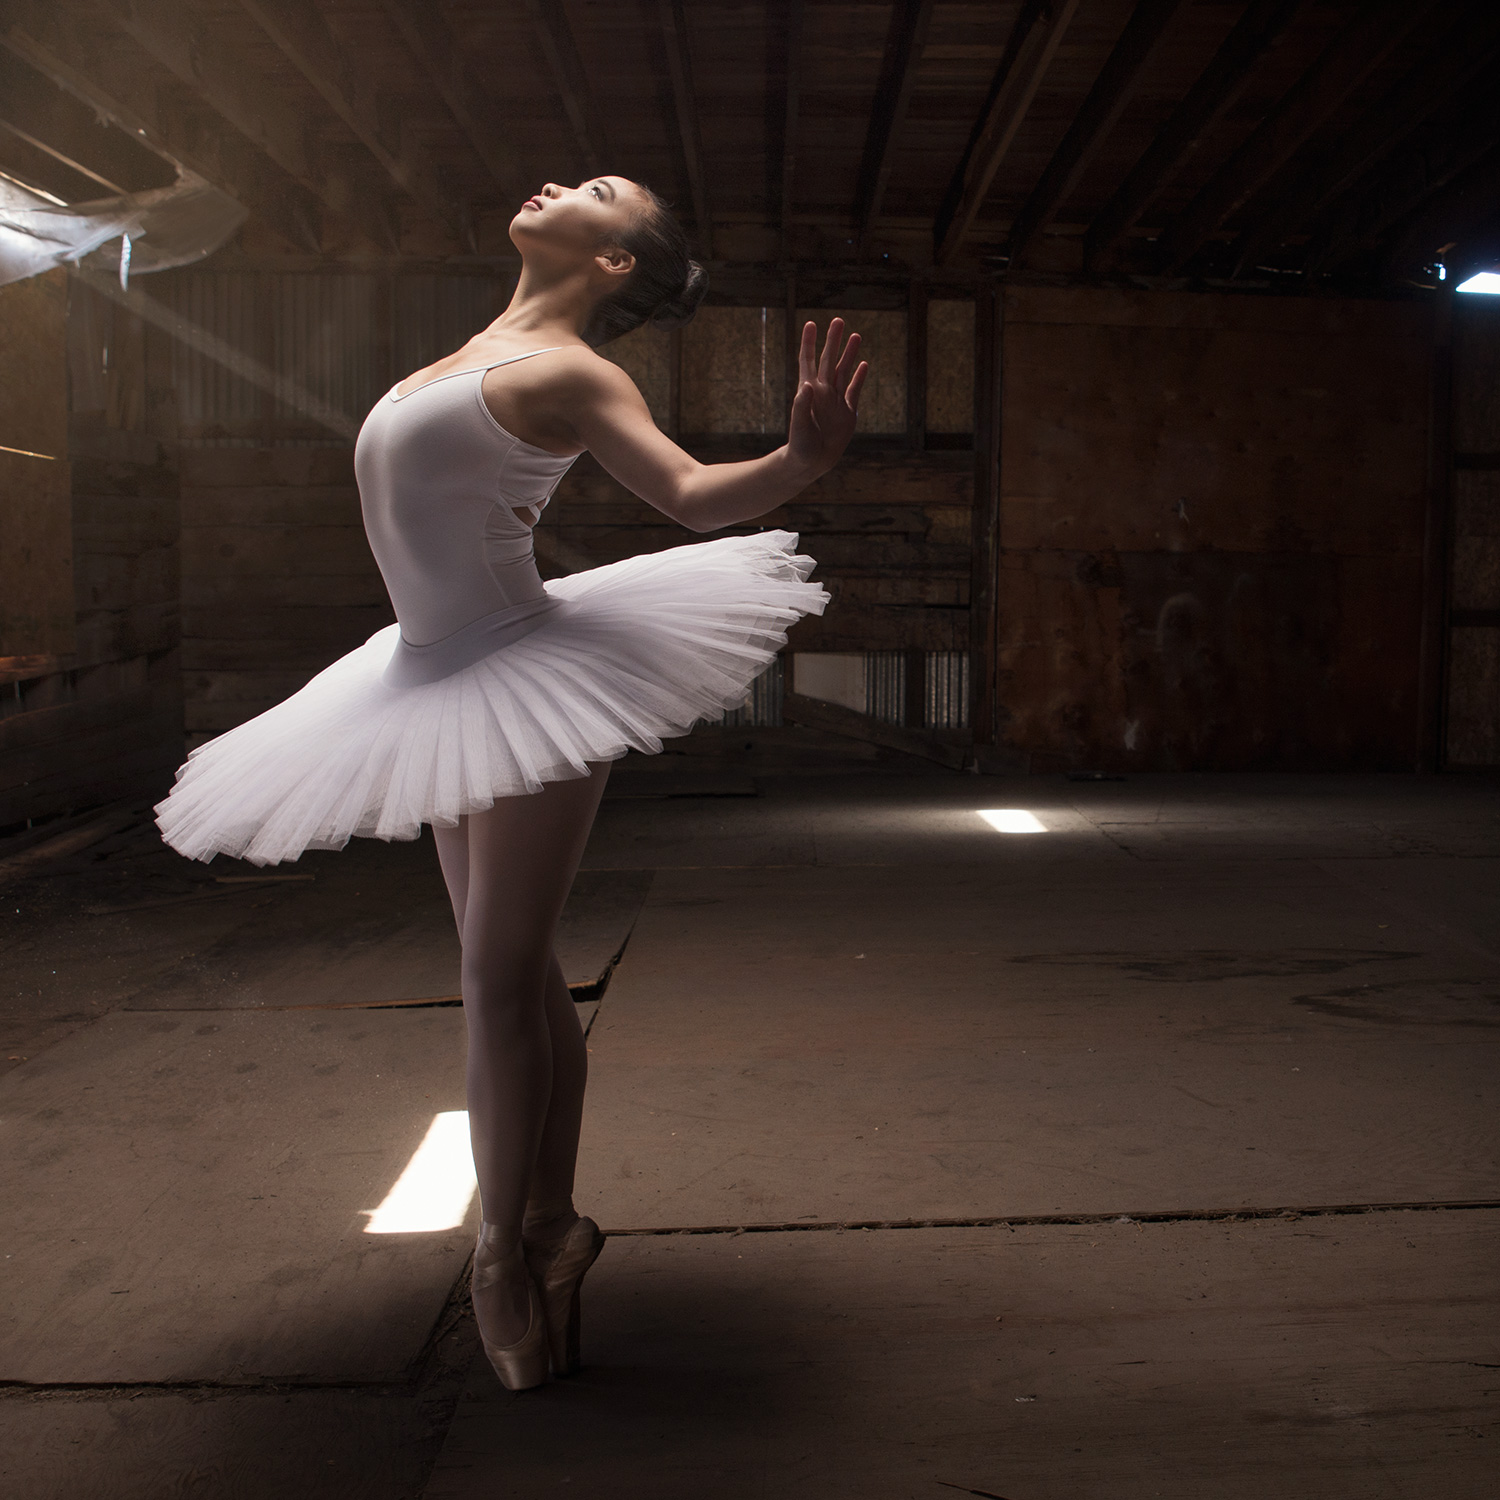
Art Direction,
Phothoshop,
Photography,
Photoshop,
Portrait,
Dance,
Ballet
Aaron Anderson
Art Direction,
Phothoshop,
Photography,
Photoshop,
Portrait,
Dance,
Ballet
Aaron Anderson
Read More
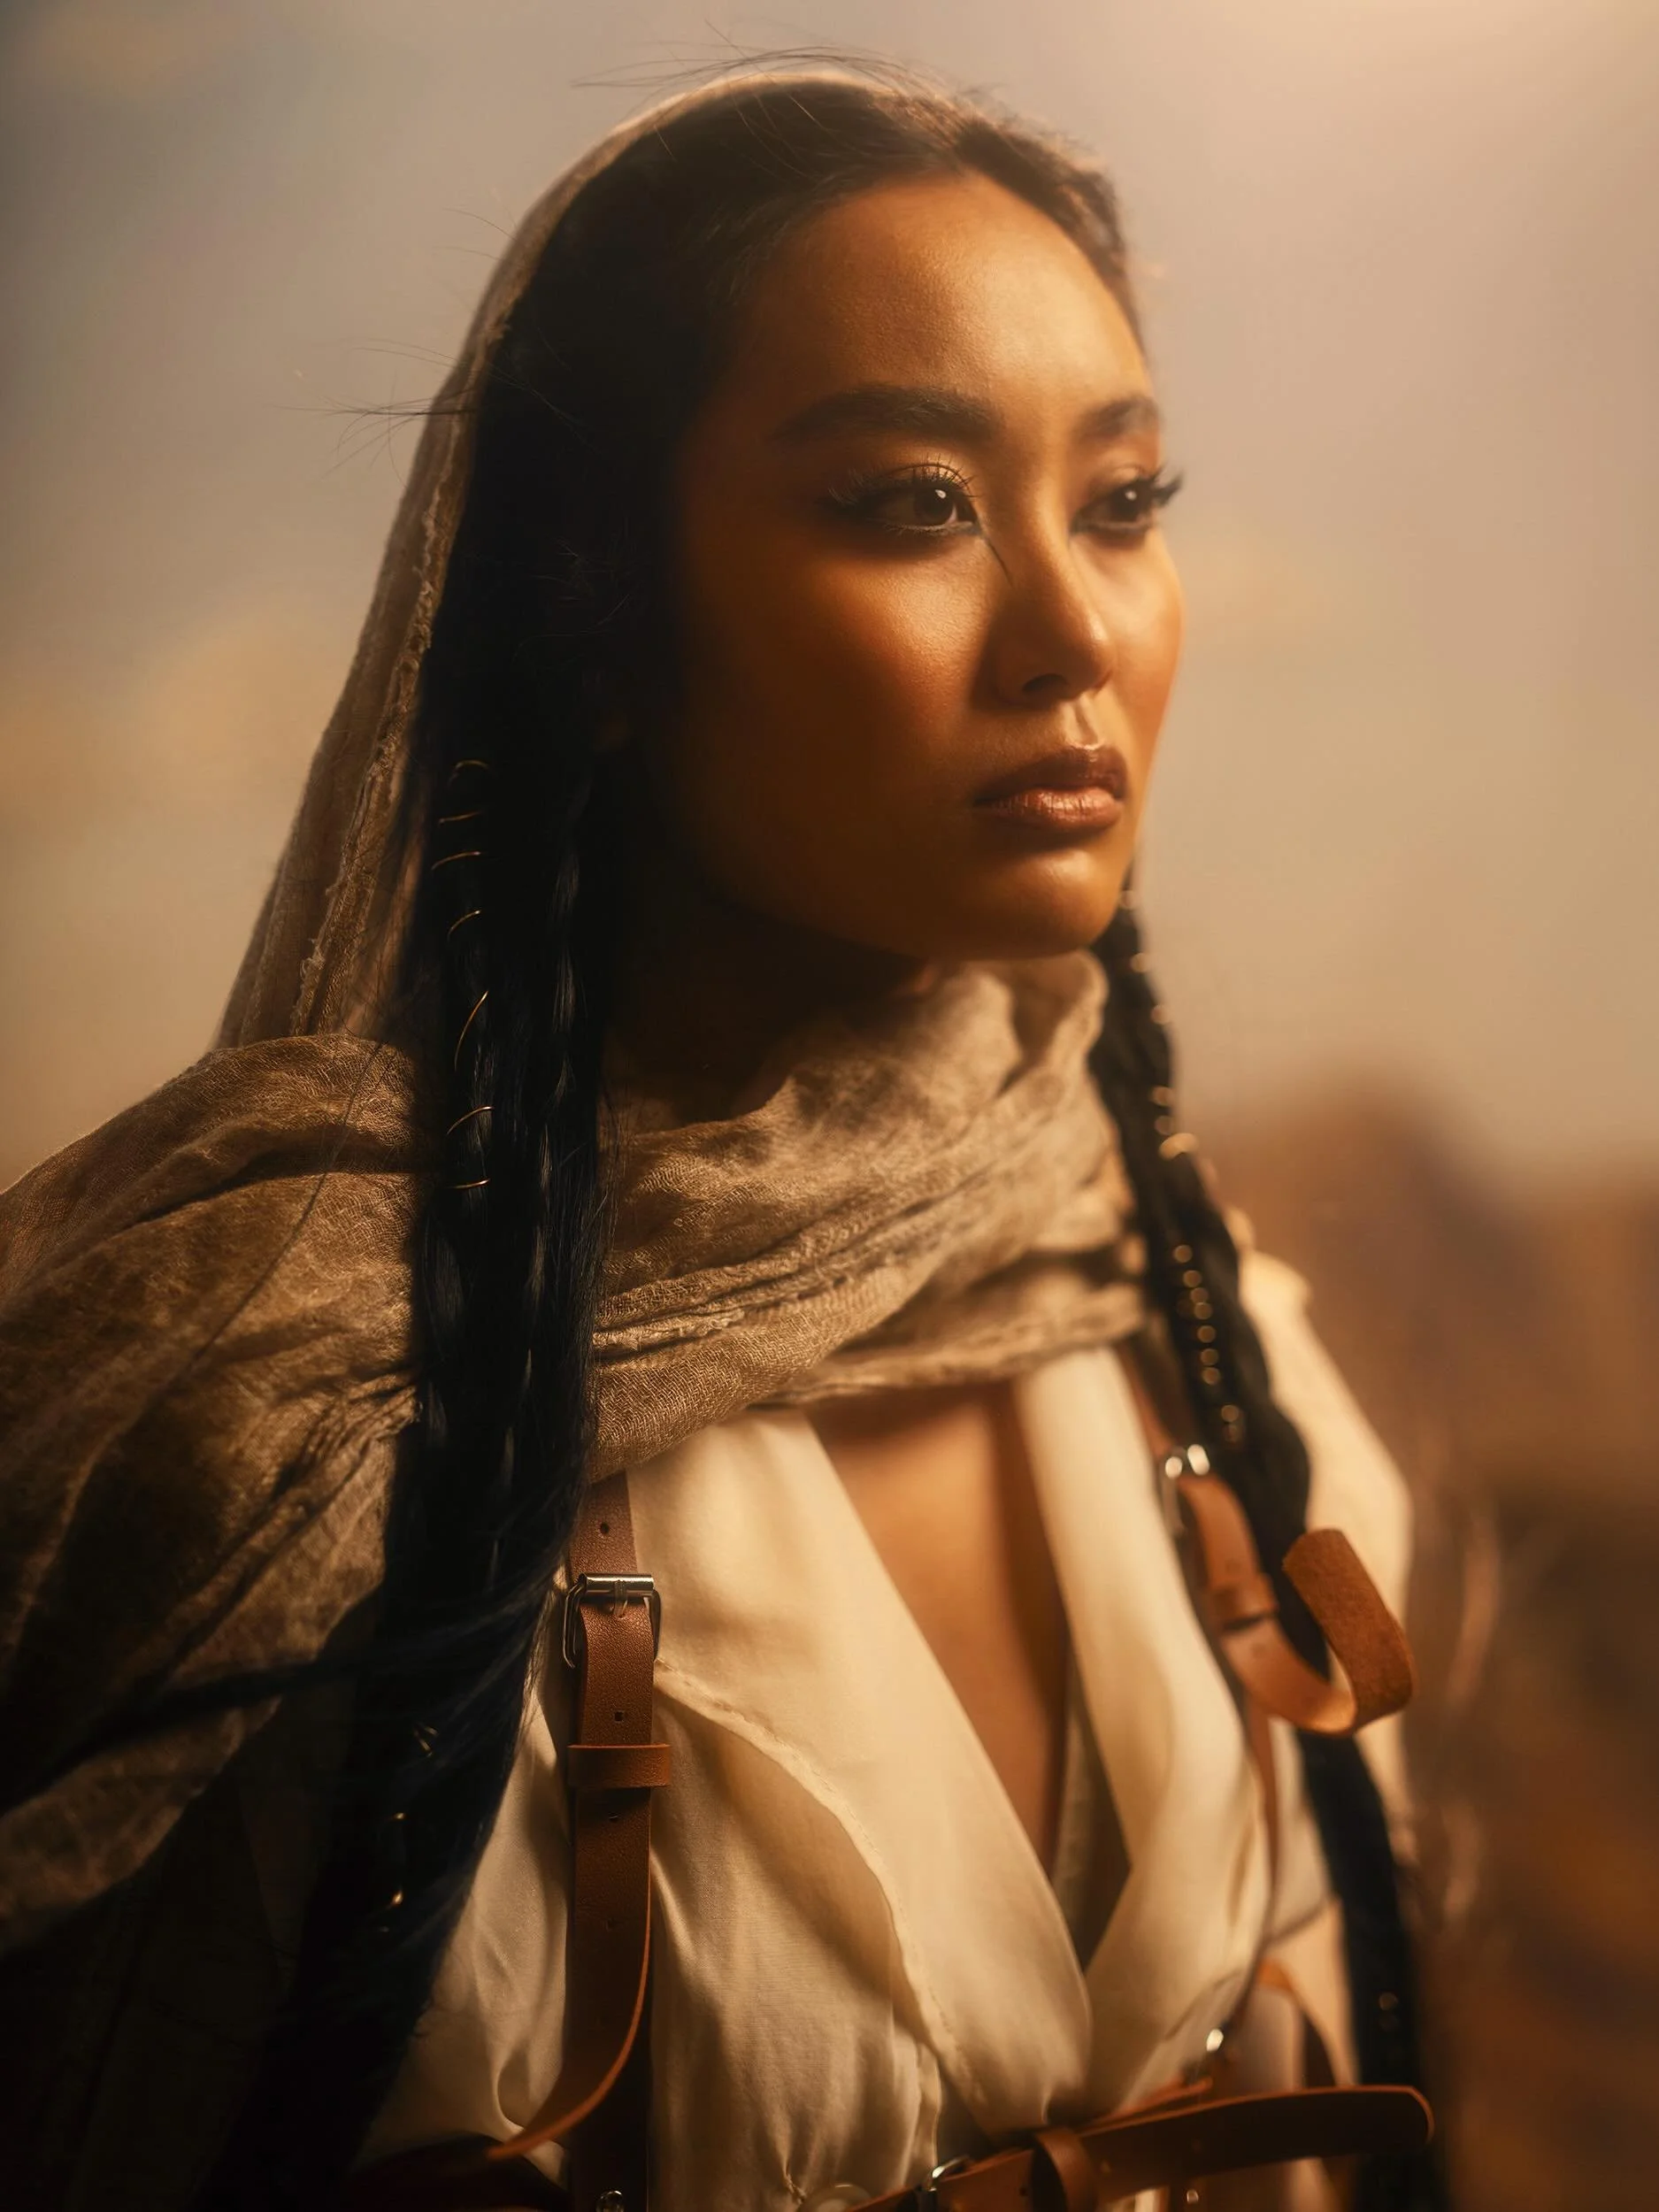
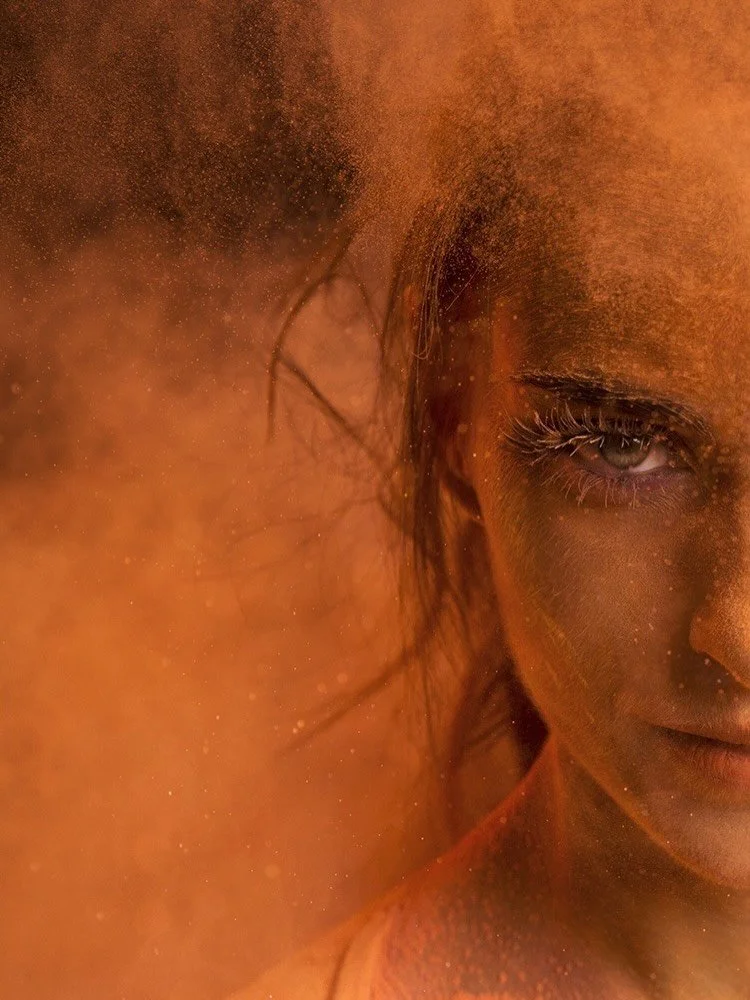
Art Direction,
Phothoshop,
Photo Illustration,
Photography,
Photoshop,
Portrait
Aaron Anderson
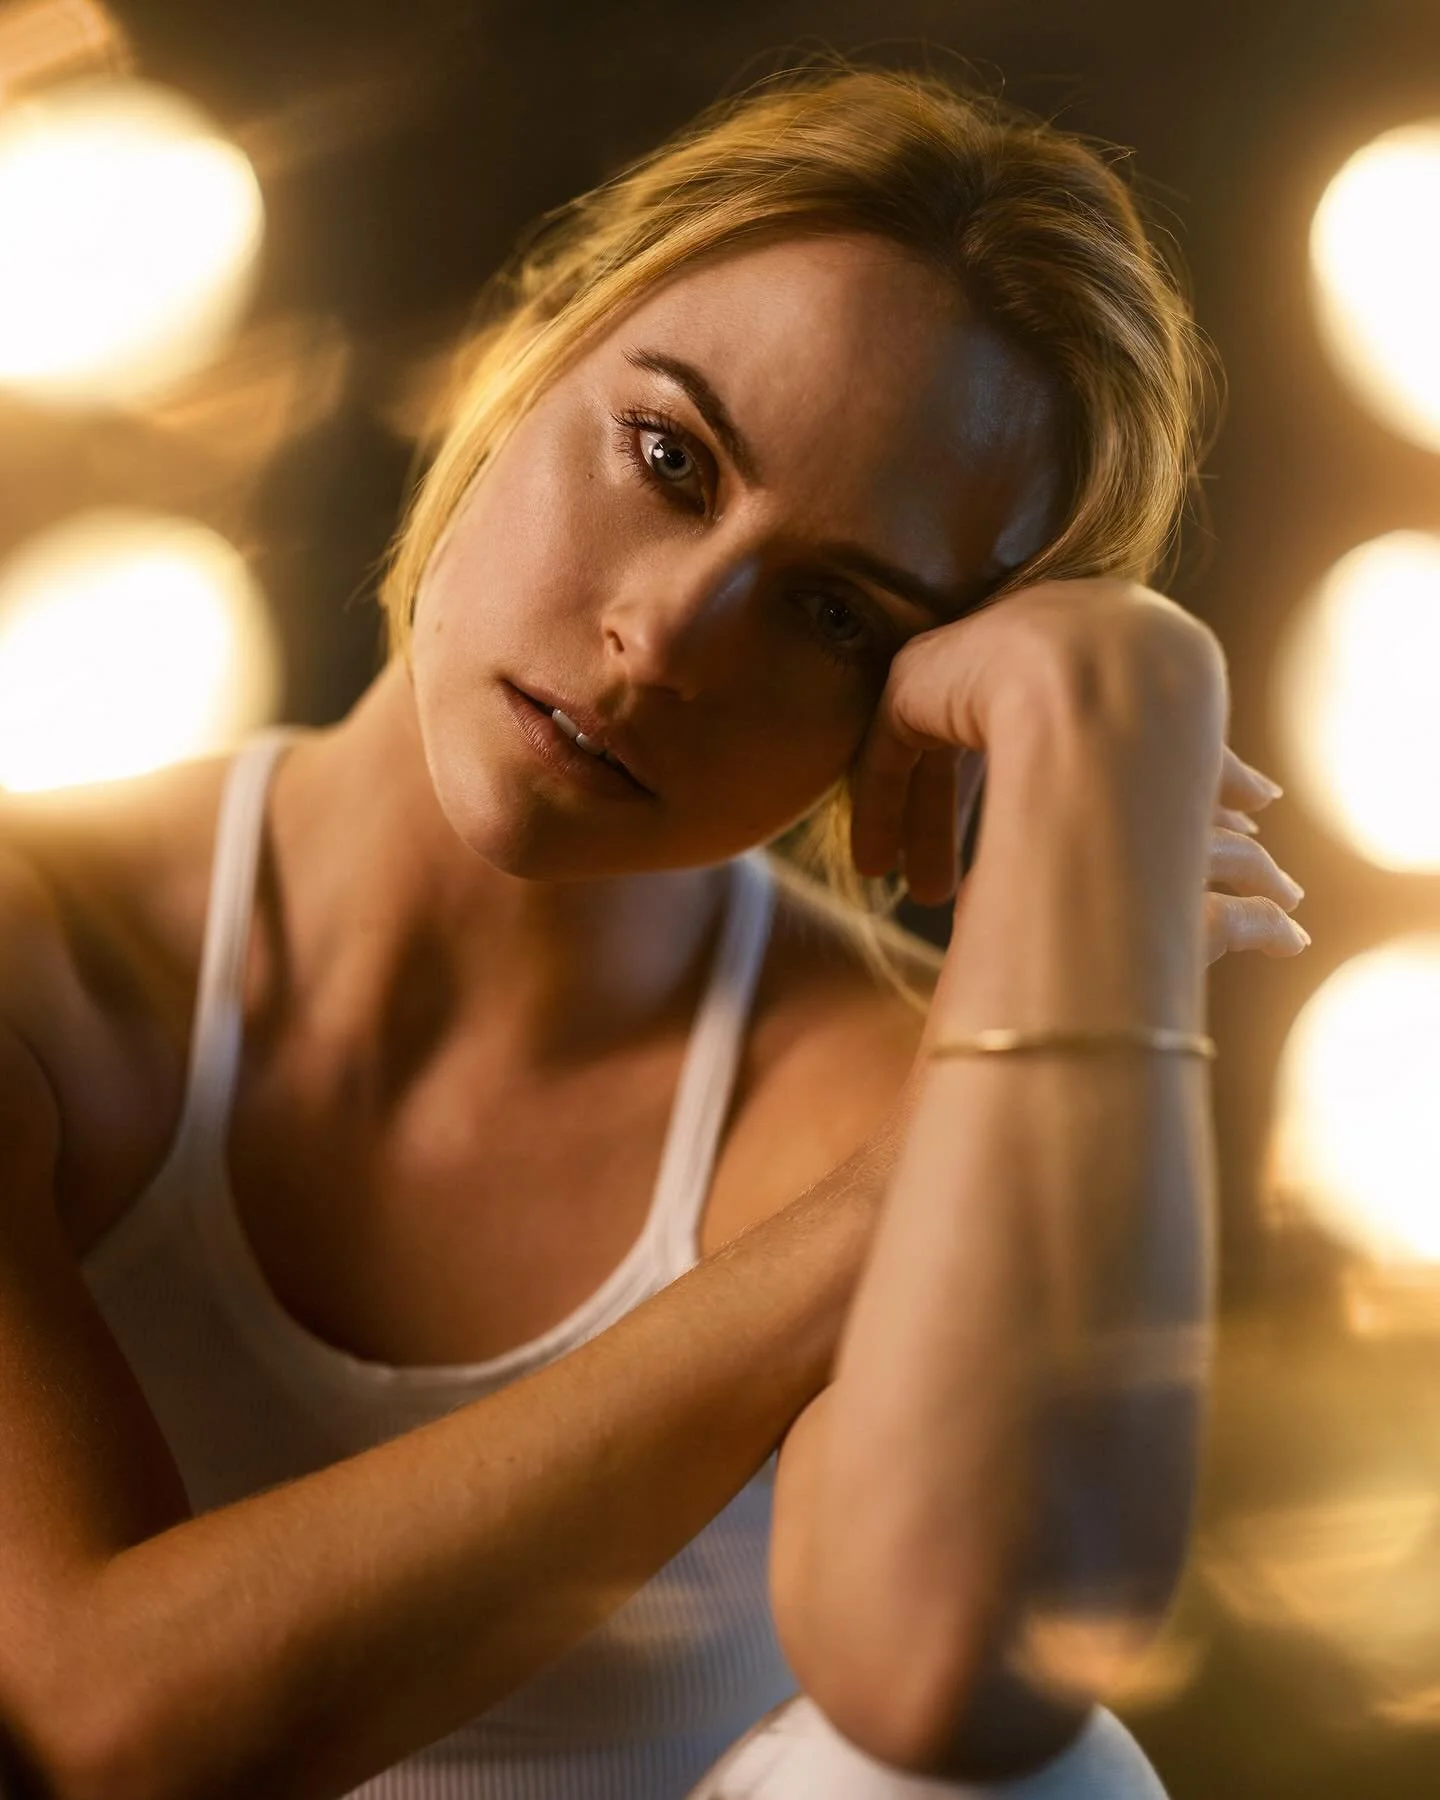
Art Direction,
Phothoshop,
Photo Illustration,
Photography,
Photoshop,
Portrait
Aaron Anderson
Read More
Phothoshop,
Photography,
Tutorial,
Band Photography,
Art Direction,
Photo Illustration
Aaron Anderson
Phothoshop,
Photography,
Tutorial,
Band Photography,
Art Direction,
Photo Illustration
Aaron Anderson
Read More
INSTAGRAM
INSTAGRAM